Welcome

Thanks for visting! The table of contents are on the right. Archives for this blog are located at the bottom of the page.


Thursday, April 7, 2011

Tomken Front Steel Tube Fenders

Tomken front tube fenders. I originally saw these on NAXJA. The comments were positive but no one had them installed. My next call was to Vicki at Tomken. Very nice lady and she was very helpful. She informed me the fab/delivery time would be about 2-3 weeks. No problem, I have a ton of stuff to do to my Jeep while I wait. I called about halfway through the process to ask a key question I forgot to initially ask. "Did I already trim too much off my fender for these to mount?" To be completely honest, it is impossible to answer that question on the phone. So I ended that conversation with a little doubt in my mind. None the less the fenders arrived and I was very pleased with their appearance.

Arrived in bubble wrap via UPS. 46lbs (According to UPS)


These are the inner fender supports. Cut the tube down to size, weld it to the disc, weld both inside the fender. It's threaded already, so you line it up with a specific mounting bolt for maximum support. Great idea!


Fantastic welds along the entire fender. I may come along and weld/grind where the sheet metal and tubing meet. Try to blend it in better. But it looks fine for now. Actually it looks great, I'm just prone to modify.


I had to pull the inner fenders out. Not that plastic, that's been gone for years. These were inner fenders I made to keep the elements out after removing the factory plastic. None the less, they had to be removed. Now I'll have to come up with something new to fill that gap.


Clamp them on and get ready to drill. The actual install on these fenders took about an hour. 30 minutes per side, and that's because we were taking our time. Easy to reach all nuts/bolts.


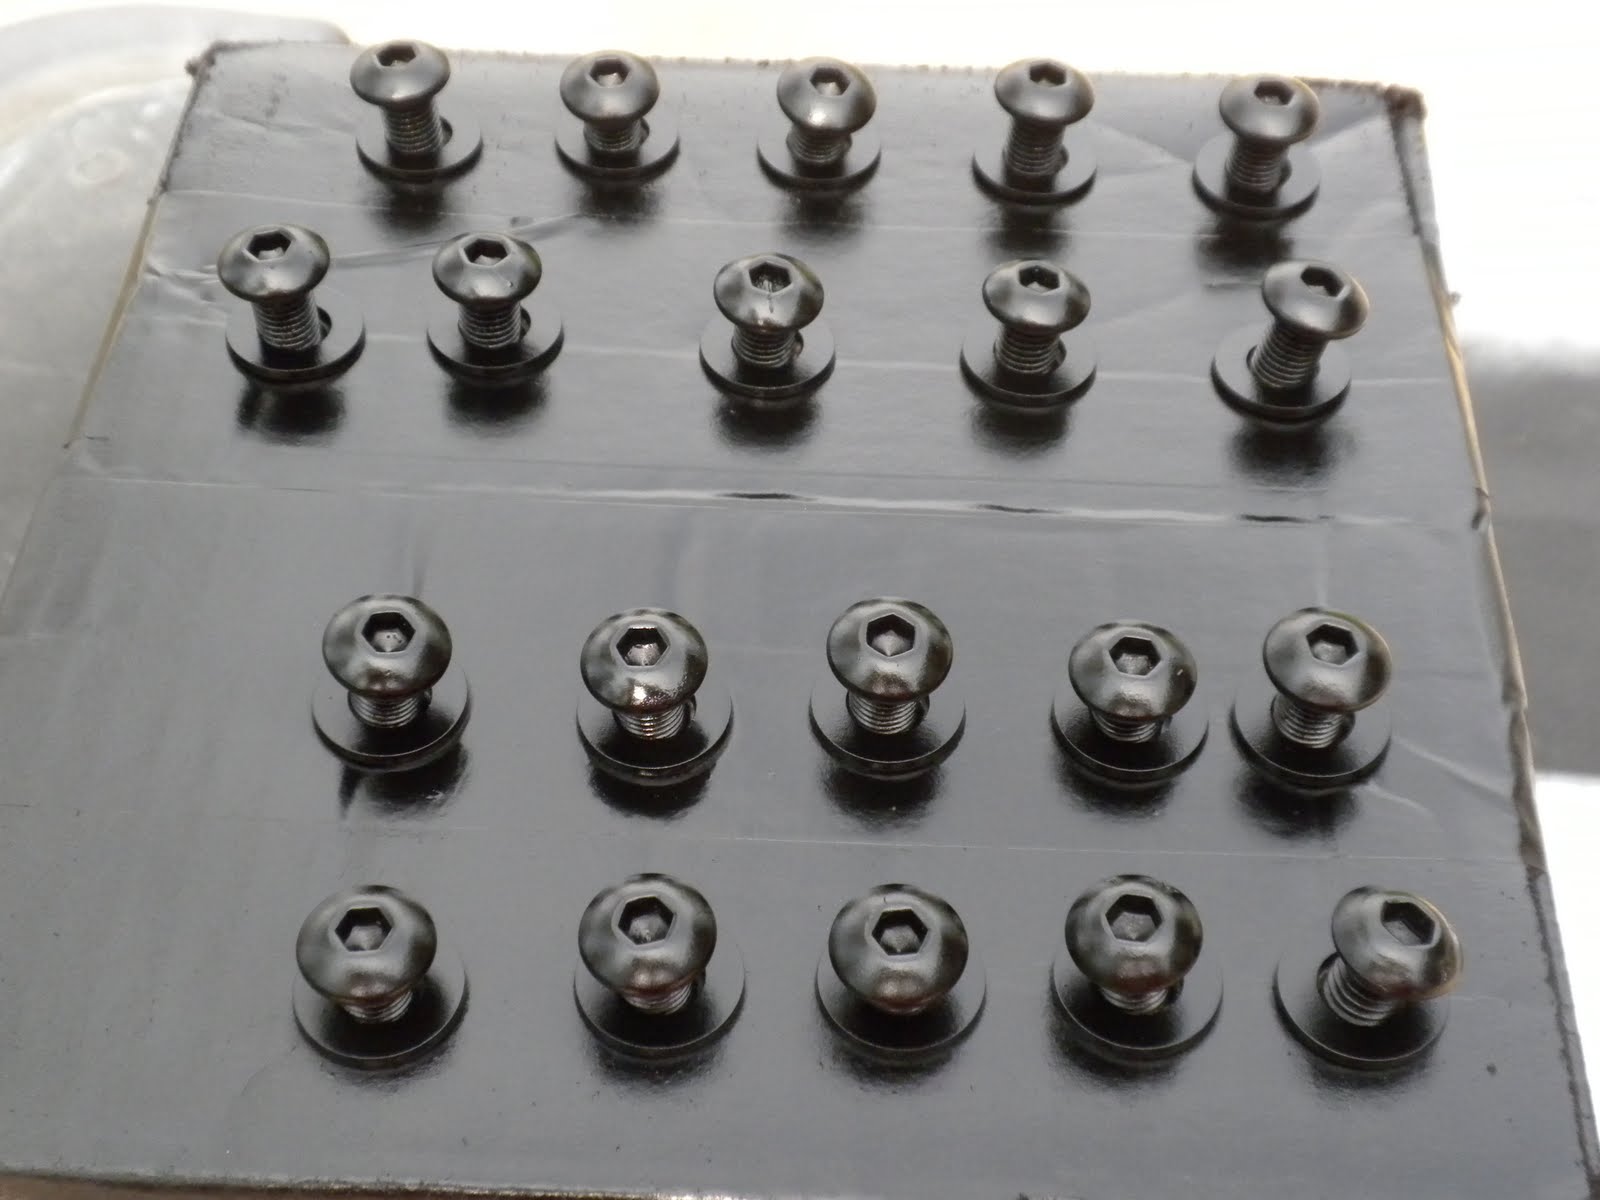
I was going to use counter-sunk bolts but the material isn't thick enough to support those bolts so I went to a button head. They do include hardware, I just didn't use it.


Absolutely one of the best mods I've done to the outside of my Cherokee. I'm extremely satisfied with the service, quality and look of this product. If I would have known these were going to look this good, I would have ordered them a lot earlier.

Pros:
-9 out of 10 for the way this thing fits. Rolled so that it fits the contour of your fender.
-Looks. Looks. Looks. Everybody looks at it. I couldn't have got anymore compliments over this past weekend ride at Grayrock. I can't stop going out in the garage and looking at it.
-Great customer service. Pleasant people on the phone answer all your questions.
-Welds look amazing.

Cons:
-A couple small chips in the power coating upon delivery. Nothing major. (I was originally going to paint these flat black, but the power coating looks so good.)
-That's it!!! I'm very satisfied!!

General link to website- http://www.tomken.com
Link to Tube Fenders- http://www.tomken.com/detail.php?id=387

Monday, April 4, 2011

Master Disconnect- Refab and Finishing

So it was time to refab this. The old design was never going to work. I would never been able to grind down the welds enough to make it as smooth as I wanted it. So Keith at ORC came up with the idea of flaring it 90 degrees and off we went.

Old way. The 3" tube was butt welded to the sheet metal. It caused warpage and I would never been able to grind the welds down enough to be perfect.

New idea. I drilled a 3" hole in the sheet metal and simply slid the flared 3" tube in the hole. Then Josh spot welded it from behind as I stood behind him telling him to be careful. As you can tell by the picture, he did a perfect job! I applied body putty to smooth things out.

Final finish view from the front. The sticker is on yet, I may replace it with something corny like "Sleep,Race". Anyway, I'm pretty happy with it.

A view from the inside. Obviously I haven't wired it up yet. This shows the limited welds used to prevent metal distortion.

Soft Door-Upholstry Complete

Well this whole door thing is finally about wrapped up. I can't even begin to tell you how excited I am to finally use these things. Whether it be cruising through a mud hole and not checking the brakes or running down the road without getting cold. These are made from the kind of material used on a convertable BMW, quality material. They sport a #10 zipper around the window. In addition, they're removable. Velcro was used around the edges, so it can be removed within a minute.


Vinyl Install

In preparation of my front fender guards (being delivered this week) I am applying black vinyl on my door skins. This will continue the black "look" from back to front. The front fenders will also be flat black. So off to Stripe King I went. I picked up 12ft. of flat black and began to install it.


A little water helps position the vinyl. Too much and you'll have a hard time getting it out with the squeegee. Then you can wrinkle the vinyl by pushing too hard. Like I did on the front panel.


Here I used to scrap vinyl to put a border around the window. It provides a better look and covers any welds or holes in the frame.

Friday, March 4, 2011

Fuel Injectors

Time to install these 19lb. Mustang Injectors. Pump up the volume. JJ, my incredible friend from Ragland, hooked my lazy, cheap ass up with these beauties. So I took the initiative to paint them and pigtail the harness in preparation for the install. From what I've seen this is a direct swap if you have older than a 1998. But the new intake changed the clip on the harness and now the new injector won't plug in. So I have to solder the new clips on the old harness.


Tuesday, March 1, 2011

Brown Dog Motor Mounts

Just ordered a set of these. Poly not rubber. I want to feel every horse my motor has left. I guess they'll be here in a week. I won't be installing them for a month. I'll post my results (here of course) and give you the real skinny on Brown Dog Motor Mounts.

Sunday, February 27, 2011

Jeepers and Creepers Throttle Body

I just picked this up two weeks ago. Let me start off with this..It's nice to know they're still people out there that care about their business. Jeepers and Creepers is one of them. Every time I called they answered the phone. The delivery was 2/3 days. The product looks amazing! Anodized aluminum looks great.

So what's the deal, why a new throttle body? The old throttle body is 62mm, necked down to 58mm about an inch from the top, before the throttle plate. The J & C version is a true 62mm throttle body, CNC'd from a block of aluminum, not bored out cast. So with my existing custom cold air intake I will capable of shoving more air into my motor. Coupled with new fuel injectors (soon to come), MSD Ignition and headers means more air, more fuel and more spark. All the same sensors are installed (provided yourself). In my case James from Jeepers & Creepers was kind enough to include a couple extra sensors. Thanks James!

So that leaves me here...I have installed the new throttle body and have had only limited time to play with it. The throttle response is definitely noticeable. Because I have my air intake inside my cab I can hear a new whistle upon throttle increase. It sounds like a turbo spooling up. Anyway, this week I will have more time to test this product and will post my results.


The installation requires you to cut part of your throttle shaft to accompany the larger throttle plate. While I had my throttle shaft removed I sand blasted it and sprayed it with clear coat.


All of your sensors plug into the new throttle body. They include the main gasket and the IAC gasket.

U-Bolt Upgrade

This was long overdue. We were doing everything imaginable to the rear axle and this was surely lacking. So off to Birmingham Spring to pick up a new set.
5/8" bolts
1/2" plates

The comparison: Old bolts 1/2" Old plates ? (I threw them away)
New bolts 5/8" New Plates 1/2"

Manual Brakes- Redo

The original brake design just wasn't cutting it. The actual problem was the distance between the master cylinders and the pedal was too far. To cover the distance we designed a push rod, which inevitably became the problem by deflecting the force and binding the master cylinders.
So back to the drawing board, and by "drawing board" I mean The Offroad Connection, my secret weapon. They mounted the M.C.'s on the firewall on a new plate. Now the M.C.'s are directly in contact with the pedal, thus no deflection.

Pro's:
-Well #1 for me is safety. If the motor dies I'll still have brakes.
-Two master cylinders, one per axle, insures the second level of safety.
-Room under the hood, which in the near future will become exclusive property. (I.e. coilovers)
-Cosmetic improvement. If you don't think so, look at the last two pictures.

Cons:
-Installation.
-Trying to install the Master Cylinders
-Generally speaking the installation process of the Master Cylinders.

Seriously speaking though, if you don't "push" on your brake pedal when you have manual brakes, you don't stop. Your stopping power is directly related to the size of your calves. No power assistance means no assistance. That does not mean "no" brakes. Actually it's quite the opposite. Now I can lock all four tires up. In addition, I love the feel of the pedal, I feel more in touch with the vehicle.

Before I turned it over to The Offroad Connection I fabbed up another push rod that integrated clevices from Wilwood Brakes and a heim joint to help balance the allthread balance bar. Little did I know it wasn't going to work.


The upper part of this picture shows the balance bar and clevices.


The master cylinders coming through the firewall.


New setup equipped with #4 stainless lines.


Old setup.

Master Disconnect

I've been wanting to install one of these for a while. So I decided to mount it on the opposite window frame of my fuel access. My batteries are back there so access to the negative wire is an arm's length away. I used 3" exhaust tube and sheet metal. Josh cut a circle out of sheet metal, drilled a hole big enough for the shaft of the switch and then welded it on the inside of the 3" tube. This way the switch itself is out of the way of passing limbs and such, but accessible enough for an emergency. Next I will have the tubing welded flush to the face plate. If none of this makes sense, I'll have a final install picture posted in a couple days.


Corbeau Seat Savers

Scored a set of Corbeau Seat Savers.

Pros: Great woven like material. Seems super durable and waterproof?
Embroidered logo front and rear.
Fits very well. Designed specifically for my seat. (One exception see below)

Cons: Doesn't fit all the way around the seat. Uses plastic buckles and adjustable straps

New Seat Bolts

Recently, I had to replace a couple bolts on the drivers seat. The threads were stripped and I was tired of the seat bouncing around. So I drill them out to 3/8" and installed grade 8 hardware. *Note* This was only done to the front bolts as a temporary fix until the cage is installed.

Sunday, October 24, 2010

Manual Brakes-Master Cylinder Install

We began to install the master cylinders recently. First we had to fab a mount for them. Second we had to extend the pedal push rod. This is what we came up with.

We're going to T the front lines together and run them into one of the masters. The rear line will run into the other. No booster. No proportioning valve.

Top view of the mounting. This picture also shows the push rod integration.

The push rod with zerk fitting. Long enough to cover the distance through the firewall. Splits off into 2 ends to compress both cylinders.

Monday, October 18, 2010

Rear Brakes-Install

One thing I was gonna do right this time around plumbing the brakes. I wanted them to look good. Hard lines everywhere I could to maintain better pressure. I wanted them mounted on the top of the truss so you could see them from the side. So this is what we came up with..

Stainless braided line from the body mount to the T fitting mounted in the middle of the truss. 3/16" hard lines down each side of the truss toward the calipers.


Custom made 90 degree stainless braided lines to the 1/2 ton calipers.

This is look I wanted. Something to be proud of!! You can also see we relocated the vent for the chunk of the top of the diff instead of on the axle tube. Both the vent hose and brake the will run straight up to the body. Clean look!

Front Door Panels-Install

We installed the door skins the other day. We used 1" stock to mount the skin to the door frame. To my amazement, when you open the door it doesn't rub in the front. I thought it would.

I think the side of a Cherokee looks like a sword with all the body lines progressively increasing. Damn shame the factory hides all those lines with trim.

A good view if the framing if the door skin. I wanted to keep this raw looking. In case I need to replace a panel it would be relatively easy. Of course the frame will be upholstered in black vinyl on bottom and a zipper window on top. As for opening the door, you will actually reach behind the A pillar to open the handle.

The black handle can be used to open the door after it's unlatched, but it doesn't operate the latch. Purely cosmetic.

Rock Rails-Finshing (Paint)

Finished the rock rails with a coat of stealthy flat black. We took off the poly skids to trim them. Once everything dries, they will be mounted and the rails and poly skids are done!