Recently I re-acquired my rear hatch from a friend that I gave it to (thinking I'd never want to use it again). HA. It is now my intention to remount the hatch and continue the body lines the engineers of the Cherokee worked so hard to achieve. In addition, I think it looks more complete by not allowing the brake lights to just "hang out" there in space. So off I went in disassembling the hatch and its components.
Items needing to be removed included: Trim, glass, wiper and wiper motor, handle and linkage. The worst of them all was the glass. I took my time so that I would slice myself open, but eventually broke the glass and cut myself anyway.
Then I had to re-acquire some hinges for the hatch, so off to the local Pull-a-Part I went.
The I fitted the hatch without the spare tire in so I could see if I had any issues. Everything aligned well and it was off to the next step. Installing the spare tire and marking the hatch for cutting.
With the spare tire in it is plain to see the tire sticks out [into] the hatch.
I grabbed the necessary tools to begin cutting.
I started hacking away at the inside of the hatch first, opening it up until it accepted the tire. The hatch closed a little more..
Then I started cutting the outside panel. I did this in a rectangular shape large enough to clear the tire as the hinged hatch swings down over it.
Then I made a template for the 1/4" Marguard #10 I'll be purchasing this week to replace the heavy, unsafe rear windshield.
Then I started designing the template for the tire hole/license plate. Obviously it need to be bowed outward to allow room for the tire. This is what I came up with. I'll transfer this to .22ga sheet metal and weld everything in place. This entire hatch is getting re-painted (inside and out) so it doesn't bother me if it gets grinded on...for now.
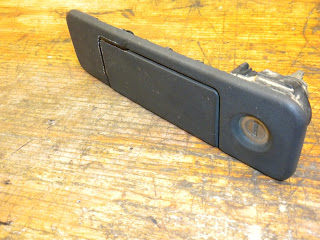
Then I added the rear handle, which is now rendered non-operational, and the factory eyebrow above the license plate template that will house a LED for the license plate.
My goal is to blend the sheet metal work in, paint the hatch black, get the third brake light working and the LED in the eyebrow. Since the hatch doesn't have a operational handle or inside latch it will remain securely closed with Autofab hood pins, identical to the versions used on my hood. I'll use two hood pins, one at each lower corner of the hatch. I still need to get some hood struts to keep the hatch up, but they will be included in the final plan as well.
Here is a small video describing the process:


