Welcome

Thanks for visting! The table of contents are on the right. Archives for this blog are located at the bottom of the page.


Saturday, October 29, 2011

Front End Alignment

It's time for another front end alignment after replacing tie rod heim joints and especially after I noticed my spindle nuts were only hand tight when I did my last alignment. So I was sure the toe was off. Since my tie rod was built with left and right threaded heims it allows me to adjust it on my own. Here's the technique..

Put the front end on jack stands so the front tires spin freely.


I built some kind of contraption that held a scraper tightly in place. A screwdriver would work just as well. A vice would be even better. But the point is to scribe a line around the circumference of the tire. You must hold the scraper/screwdriver tightly in place so the line remains straight.


Marry the scraper to the tire so that's it's close enough to make contact with the tire and scribe a line in the rubber.


I stood on the wood blocks that held the scraper down so it wouldn't move and spun the tire 360 degrees. Do both tires the same way.


Measure the distance between the lines in the front of tires.


Measure the distance between the line in the back of the tires.


If the front measurement is less than the rear, you're toe'd in. If the rear measurement is less than the front you're toe'd out. Essentially you want your tires to toe in 3/8"-1/2". I was at toe'd in at 5/8" and as a result I need to turn the tie rod heim joints inward a turn or two and re-measure to bring that down to 1/2".

Trimming lug nuts

The first time I saw this I was at a pre-race inspection for the XRRA. They insisted that all lug nuts be "uncapped" so that a visual inspection could be performed at any time. It also prevents any build up of dirt from staying inside the lug. So I grinded off the cap and cleaned up the threads and re-installed.


Now when my OCD kicks in I just have to glance at the stud to see if anything has loosened up.

Drag link updated parts

I installed new hardware on the drag link. New grade 8 bolts, chromoly heims joints, and alignment spacers. There was some slack in the heims (after 3 years without changing them), it was kind of expected. Now I can move on to the front end alignment knowing that all heims have been replaced and there will be no slack in the steering.


Friday, October 28, 2011

8.25 Chunk Cover Threaded Bung

After taking the rear chunk cover off to do a fluid change, I realized the rubber plug was beginning to deteriorate and needed replaced. So I opted to have the unthreaded bung cut out and replaced with the threaded bung from a D60. Originally we thought it needed to be cut out with a plasma, but then realized a hole saw would work just fine.

Untouched original cover


Rubber plug on left. Plasma cut threaded bung on right.


Interior view untouched cover.


Interior view threaded bung welded to outside of cover.


Finished product. I'm not grinding anymore. I don't want to compromise the integrity of the welds.


3/4" tapered pipe thread plug with a 9/16" sunken hex head.


Thursday, October 20, 2011

Soft Door Stops

In an effort to stop bashing my door skins while [over-opening] my doors I have decided to install some CJ stops.


Tap out the holes to 1/4"


Radiator catch can

It was time to re-install this. When I moved the fuse box inside (from under the hood) the bracket the catch can was mounted on was removed. I routed to overflow hose to the ground in front of the driver's tire. Eventually I got tired of filling the radiator up with water every ride, so I decided to re-install this. I still need all the room I can get under the hood for future shock placement, so this is where it ended up.


Sunday, October 9, 2011

Maintenance Time

Well the Jeep is in the garage for a couple weeks. I'm waiting on the next Grayrock ride to bring it out. It needs a bunch of maintenance done to keep it reliable.

-New heims on the drag link
-Regap the spark plugs (since I pulled the MSD and have forgot since then)
-Change chunk fluid front and rear
-Change Transfer case fluid
-Install door stops on front skins
-Front end alignment
-New front end bearings/races/seals
-Install Alloy USA axle tube seals
-Clean dust out of intake tube, air filter, throttle body
-Fix rock lights
-Install oil cooler and lines
-Install rear chunk catch can
-Install radiator catch can
-Install steering wheel
-Check every bolt, grease everything

Tuesday, August 16, 2011

Compression fitting install (SS Braided line)

I put the compression fittings on my braided stainless steel oil lines tonight. I was pretty happy with the ease of installation in comparison to the ones I used on the fuel lines. These have an additional collar that provides an extra layer of confidence, and you don't have to muscle them on. You simply tighten the threads. Allow me to show you..

Unthread the female end and remove the inner collar. Leave the male end to the side for now.


Push the braided line through in the inside of the female end, threads facing out.Push the plastic tubing (inside the braided line) into the inside of the collar until it is almost flush.


Slide the female end over the collar. Thread male end and you're complete.


Clean fit.


Ready for the cooler. Which by the way I'm still looking for.

Alloy USA axle tube seals

Picked these up a while back. I'm going to wait to install them when I pull the front axle out from under the Jeep and truss it. But for now, they're just eye candy. Anyway, Alloy USA offers these in multiple sizes. These are the D30/44. As you all know I have a D34, a combination of both axles, so these will slide right in. As for the color, you're stuck with red because that's all they offer. After last year's front end debacle, where water ruined every race, bearing, and seal, I won't more protection. We'll see how it works. I'll post up after I install them.


Rebuildable inner seals


Sunday, August 14, 2011

Fuel Line/ Filter install

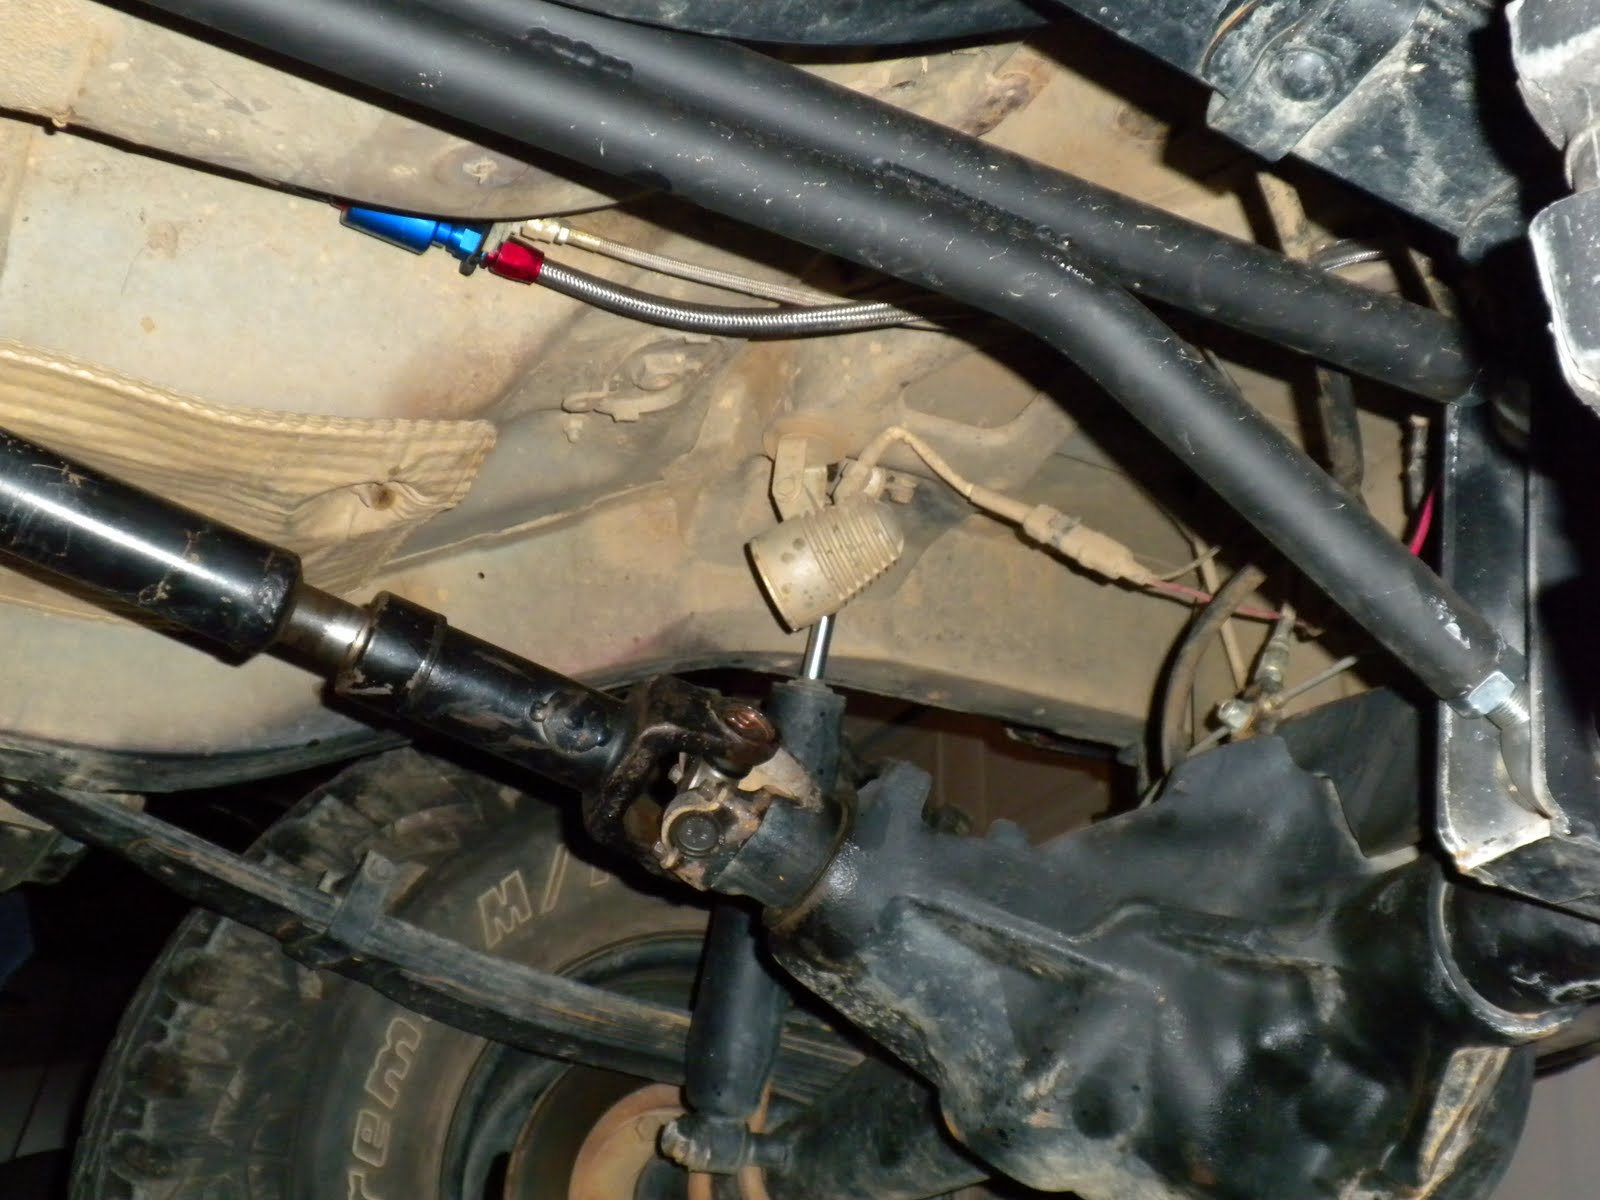
Well I should have posted this before. I have installed the braided fuel line, EFI fitting, and fuel filter going back to the fuel tank. I originally mounted the line on the inside of the frame rail on the driver's side. This posed a problem with interference from the traction bar. So I had to move it to the transmission hump and paired it up with the brake line. When I install the electric pump I will touch base on this subject again.


Manual Brakes- Balance Bar Restrictor

After I tested out the brakes I noticed upon braking the balance bar was not remaining horizontal, thus deflecting energy. In real terms it means the brakes weren't as good as they should have been because the master cylinders were not compressing straight in. One was going up and one down. Yes I was stopping but I knew they could be better. So I headed up to ORC to discuss this with Keith. I drew him a diagram and left my Jeep for a couple hrs.

This is what he came up with. The red arrow shows the fork in the rear of the design. This allows the balance bar to move forward and backward (to allow for individual compression of the MC's), but does not allow the balance bar to move up and down (which is how it was deflecting the energy.

The blue arrow is the thumb screw Trey installed. It prevents the spherical bearing from over-rotating. Obviously the thumb screw decided not to do it job and the bearing/balance bar needed a restrictor.

Oil cooler sandwich adapter

I decided against using the oil relocation setup. Mainly because it was going to take up too much space under the hood. In addition, the cooler (I unfortunately purchased) was only 3/16". This was going to pose a problem with pressure in the smaller lines, thus building heat and negating the purpose of the cooler to begin with.

I decided to purchase a sandwich adapter that has (2) 1/2"ID ports. This will allow me to direct the oil flow to and from the oil cooler right from the filter area. I also purchased (4) #8AN fittings and 10' of 1/2"ID braided stainless steel lines.


We tapped the adapter from pipe thread to standard thread and installed a Boss fitting with an O ring. I refuse to have SS lines hooked up to a pipe fitting with teflon tape. So this is the route I decided to go.


All the new gear. Now I'm looking for an oil cooler. It has to fit certain specs though. So I'm looking at some racing stuff.

Tuesday, August 2, 2011

Rear Shackels- Rebuild

Well after installing the shackle relocation kit, I decided to customize it further by removing any adjustment holes to choose from if say for instance my leaf spring were to soften up. Which led me to this point. I needed to relocate the shackle mount and improve the angle.

The shackle kept slamming into the rear of the mount. So these little beauties had to be removed.


Plasma gun does wonders.


Get everything straight and tack on the new mounts. We set the Jeep down to level it out then finished the welds.


Flat black and voila! I got the opportunity to try these out right away and had absolutely no problem. The spring sits flatter and the shackle angle is better.

Manual Brakes-Brakes Pedal Spherical Bearing Install

This should be the last step in completing the manual brake system. In order to emulate the Wilwood braking system I bought a 3/8" ID spherical bearing to install in the pedal. This will help alleviate binding of the all-thread as it passes through the pedal and attaches to the master cylinder clevises.

The top of the pedal is the location of the bearing. You can see here it is just the all-thread with two threaded collars.


Trey milling out the new location. Giving it that extra attention. Normally he doesn't even look at what he's doing.


The hole had to be milled off center rather than drilled due to a rivet located just above the hole.


Tapping the set screws holes. The are used to prevent the bearing from over-rotating. If that occurs the MC's will not compress straight in and deflect energy elsewhere.


Paint and ready for install. I had the opportunity to try these out right away. I would have to say I finally feel like I have consistent brake pedal now. Something I can cross off the list.

Rock Rails-Installation/ Finishing the rails

The rock rails were only 50% done. The rocker panels were still exposed if the Jeep was on lean. So I took it down to my local fabrication geniuses, namely Offroad Connection. I knew they had it under control so I just took off (after a couple of hours).

When I returned Wayne had tacked on both sides and was getting ready to fuse it together permanently. He matched the tubing size to the tubing used in the front fenders and rear coffin rails. 1.5" rails with 1" struts.


Wayne getting ready to finish the welding. Wayne has helped me a lot throughout the years