The face of the dash contains four gauges (volts, oil pressure, transmission temp, water temperature), 7" LCD monitor, custom switch panel, OEM head light switch and (2) 12v cigarette lighters. It is approximately 48" wide and 11.5" tall. We used 22 gauge sheet metal and cut everything out on the mill.
The sheet metal follows the lines of the tubing behind it but allows the tubing to be slightly exposed as to see the color of the tubing after it's painted.
Wayne clamping the face to the dash to mark the tab holes.
The lowest part of the face has a 90* bend in it so that it tucks underneath the center console piece, that way the two are joined together and you can't can see through the seam.
Wayne Howze drilling out the area behind the LCD monitor to allow the wiring to run through the dash.
7" LCD monitor will be on top of the custom 10 switch panel. The gauges will be split, two on each side.
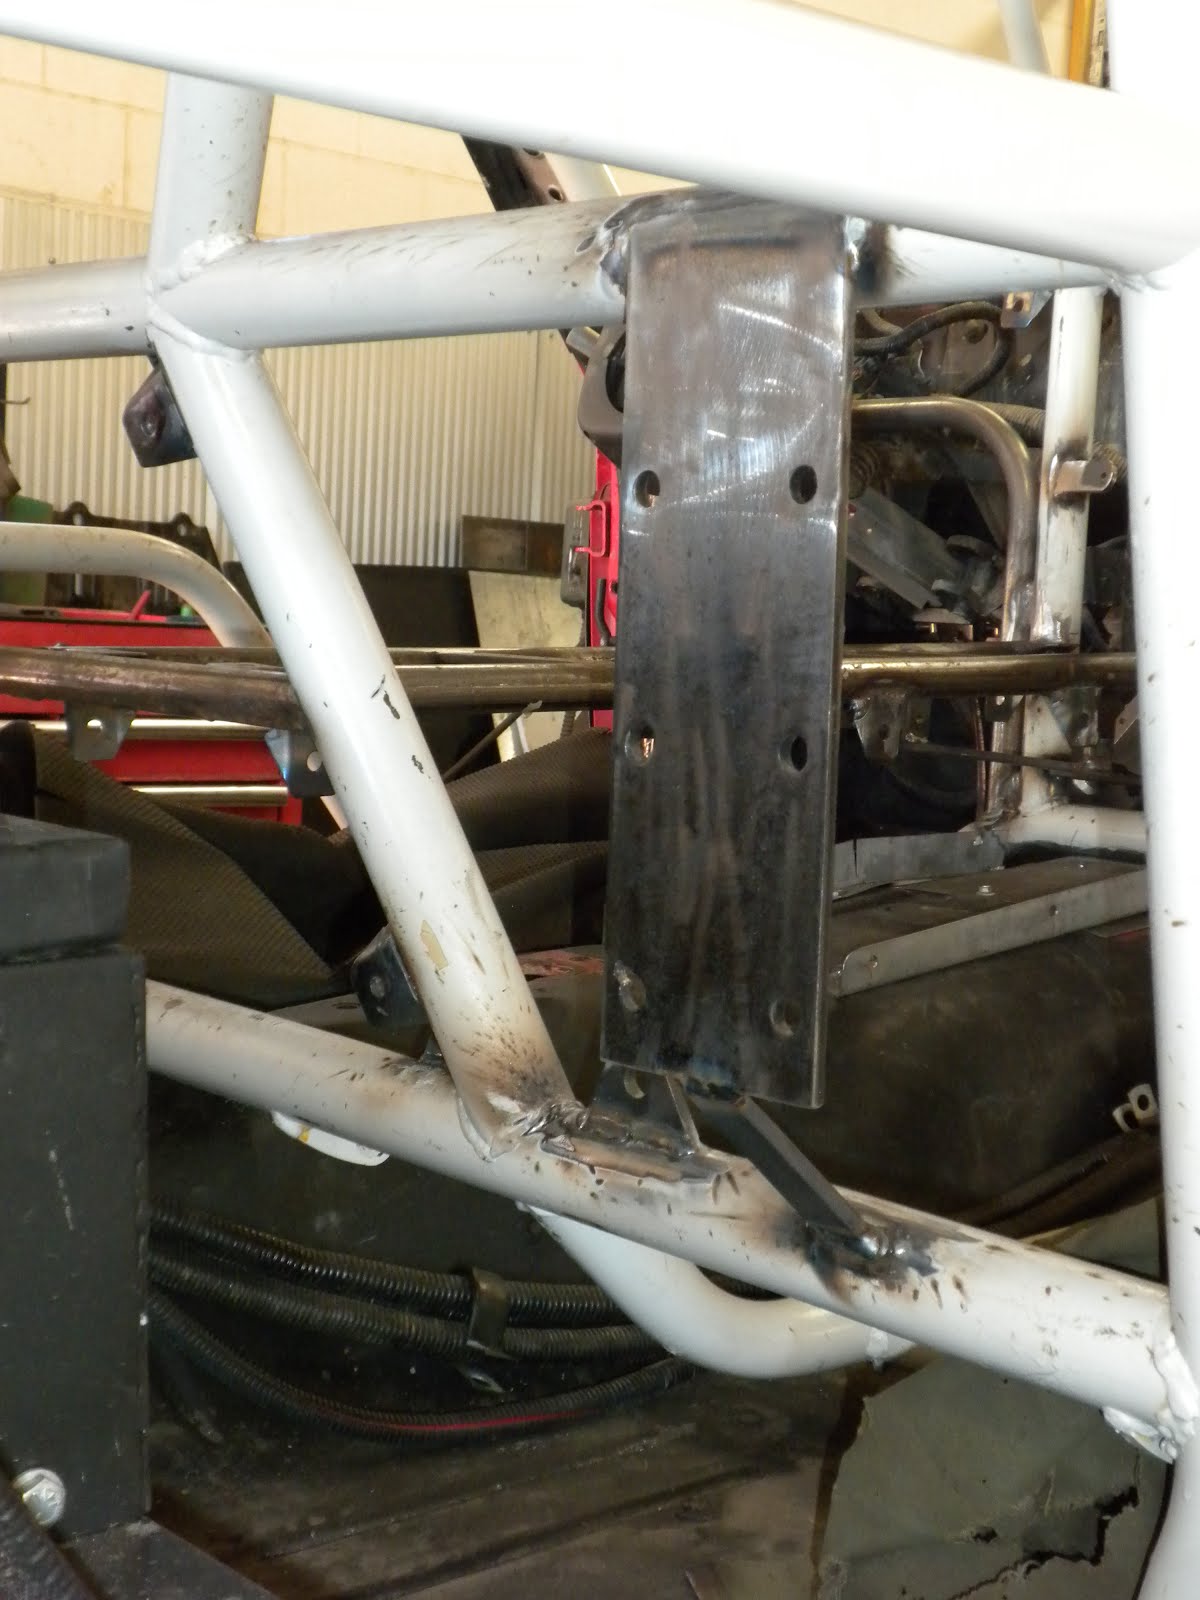
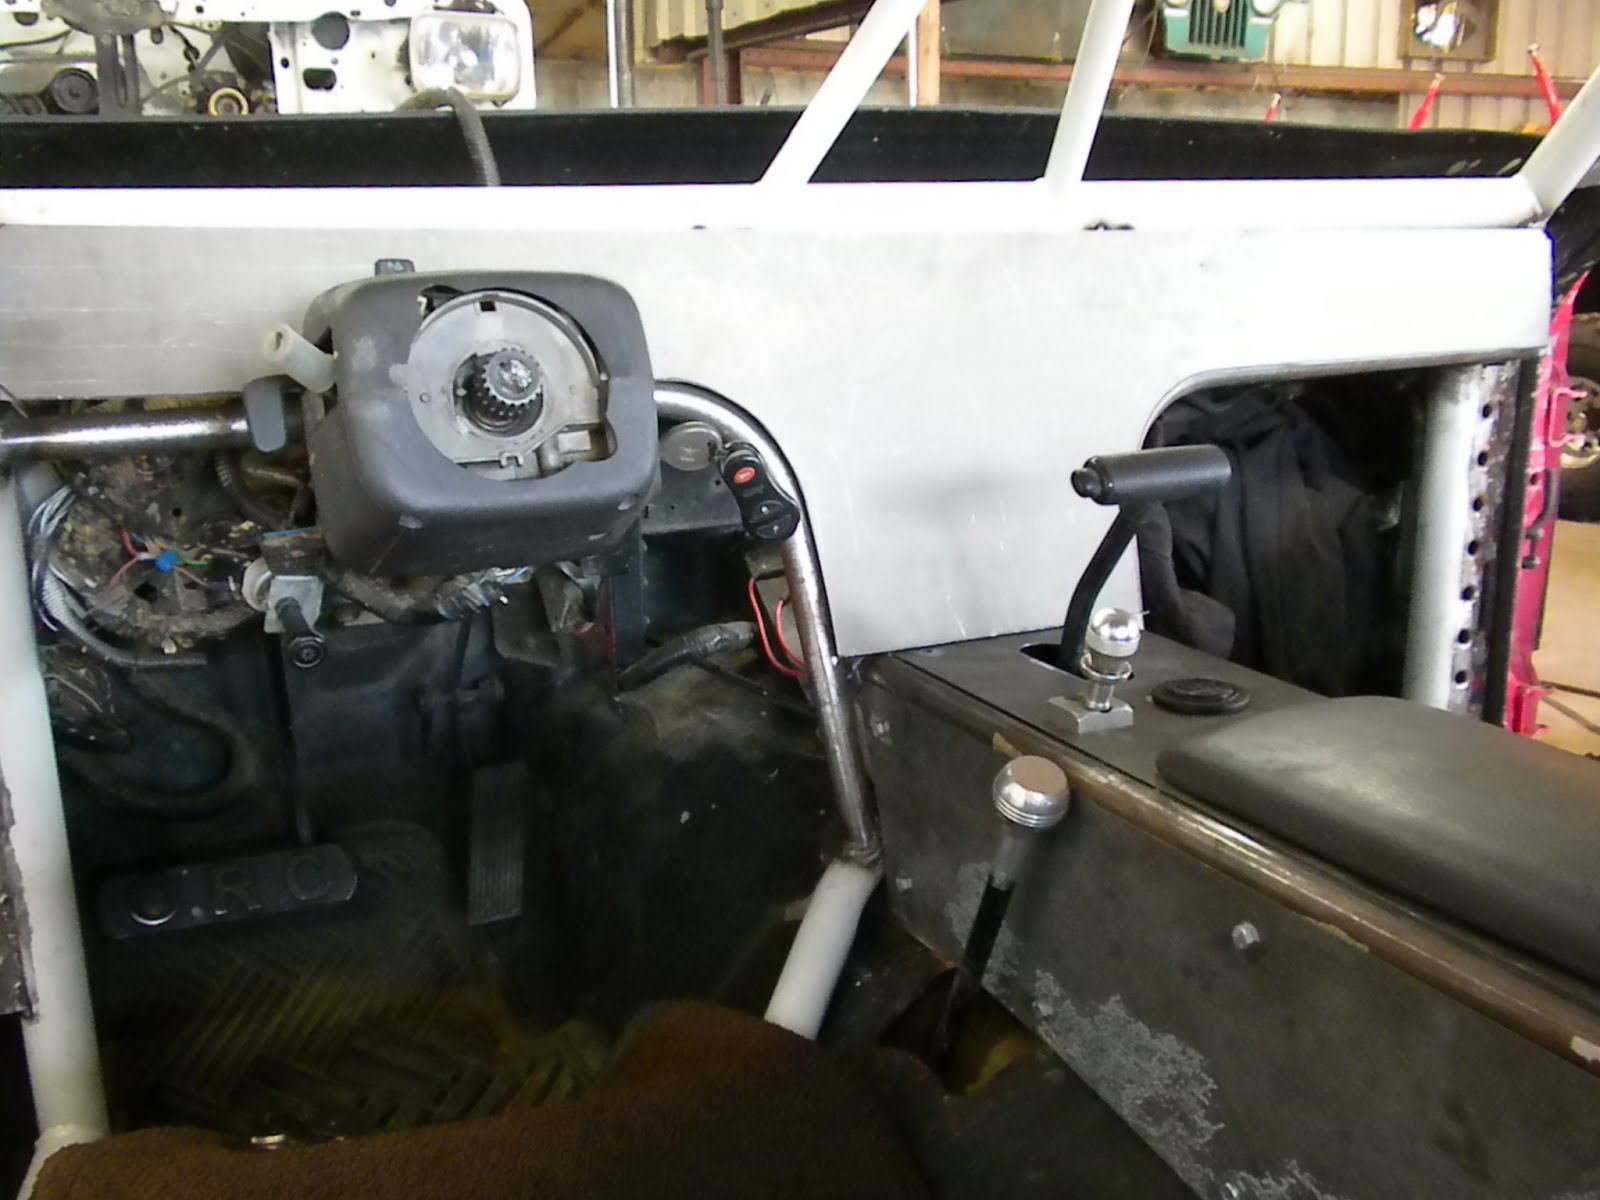
"Oh Sh*t" handle. Made from 3/4" hrew tubing.
I'm going to paint this the sale color as the rest of the tubing (light gray) and wrap it in black leather.
The housing for the Accele 7" LCD monitor on top. The custom 10 switch panel from www.12voltunlimited.com on bottom
The custom 10 switch panel from 12volt Unlimited. Chris did an amazing job on this! All waterproof switches, indicator lights and it's backlit in red.
The back of the switch panel. All soldered connections, triple sealed switches.
Welcome
Thanks for visting! The table of contents are on the right. Archives for this blog are located at the bottom of the page.
Sunday, November 4, 2012
Dashboard- Sheet metal center console
Finally we're on to the sheet metal. I turned this project over to Wayne Howze at The Off Road Connection in Fultondale, Alabama. One of the finest metal fabricators in all of the land.
I used 22ga. sheet metal through this project both for its strength and ease of cutting/shaping.
The passenger side center console piece.
The drivers' side center console piece.
The top center console piece. The pieces trimmed out were (top to bottom of picture) cup holders, factory OEM center console bucket and lid, horn button and Ox locker shifter, and OEM transmission shifter.
The inside of the center console. The side pieces were tabbed on with longer right angle pieces to prevent the sheet metal from "bowing in" between tabs.
The transfer case shifter, the transmission shifter, the Ox locker shifter and the horn button and part of the center console lid.
All the frame work for the shifters, just tacked on here, finish welding after everything is done.
Center console frame work. Just tacked on here, finish welding after everything is done.
The transmission shifter, horn button and Ox locker shifter.
The cup holders. Big enough for koozies and tapered down at the bottom for bottles.
The stock OEM center console.
Dashboard- Tubing structure
The structure for the dash was recently built. It will be the skeleton of the sheet metal and hold all the tabs the sheet metal will bolt to. We used 3/4" hrew tubing.
The design of the dash is a "T" style. The lower part of the "T" is the center console and the upper part is the face of the dash.
The passenger side of the center console and face of the dash.
The passenger side corner of the dash.
The rear of the "B" pillar support for the center console.
The passenger side of the center console
Where the center console meets the face.
Dashboard- Final Templates
After deciding on the dashboard design I needed to do some final templates. Templates that I would be tracing to sheet metal. This is what I came up with.
These were excessively time consuming but had to be perfect. I used wooden popsicle sticks to prevent the cardboard from bending in or out. It had to remain square to the surface to get accurate templates.
Templating is tedious work. Start off with the mass of the area, add some more, take it off and trim it, re-apply it, add some more and repeat until you have it perfect.
The center console and side pieces.
The face of the dash.
The rear of the console as it meets the "B" pillar.
The rear of the "B" pillar template.
Powertank Mount
I needed a place to mount my powertank. Things are getting tight inside my Cherokee, Much tighter than originally thought. I found a place behind the passenger seat that kept the powertank elevated above the floor to prevent it from rattling around and allow ease of use from the mounted position.
So we mounted it to 3/16" steel plate and welded it to the horizontal "B" pillar tube. Used 1" stock to connect it to the lower tubing and drilled holes in the same pattern as the Powertank mount.
Mockup
Mockup
Mockup
3/16" steel plate, welded just on the top.
1" stock used to connect (support) the bottom
With the Powertank mount on
Without the Powertank mount on
Roll Cage- More Tie-ins
Recently we've been doing a lot of work to the Cherokee. One of the things is adding more cage tie-ins to the body. I already had 10 tie-ins and with the new additions, it makes 15.
These are on the roof. Welded on the tubing and the "ribs" on the sheet metal roof. It was done here because it's the furthest point north of the base plates and the most flex between the cage and body happens here. The tie-ins were welded to the "ribs" because the were the strongest point of the roof.
22ga. dimple dyed sheet metal
These were done in three separate pieces to follow the bends of the "C" pillar tubing.
These are between the wheel arches and the horizontal tubing abover them. 22 ga. sheet metal with dimple dyes.
Everything is being done to allow the cage and body to move as one. If this were not done and you just installed a cage, there would be so much movement between the two it would eventually tear itself apart.
Monday, August 20, 2012
Overhead Console- (Rough) Installation
Just a rough fitment here. I drilled (8) 3/16" holes, 4 per side for mounting it to the roof. I'm going to use a stainless steel machine bolt.
Sorry for the crooked picture, I had to lean over the spare tire. All folded up this measures in at 10"x22".
This is a good view of the side slots that will house the red rope lights.

Sorry for the crooked picture, I had to lean over the spare tire. All folded up this measures in at 10"x22".
Tomorrow I will center this as well as I can and drill the holes in the roof. The pull it down, drill and mount the LED interior lights, rope lights, paint it black and reinstall it.
Sunday, August 19, 2012
Reinstalling the bellypan skids
These poly skids needed to be removed because when the roll cage was installed the bolts came through the bottom and prevented these from being mounted [flush] again.

I had to cut the bolts down so they wouldn't hang through. I got some more paint under there too.

Drilled out the skids on the drill press with a 1 1/2".

Remounted flush again.
I had to cut the bolts down so they wouldn't hang through. I got some more paint under there too.
Drilled out the skids on the drill press with a 1 1/2".
Remounted flush again.
Overhead Console- Fabrication
This is the center console I'm fabbing up. 16ga. sheet metal. 22" x 10". It's going to mount on the inside of the roof between the driver and passenger, like a typical center console. It's main purpose is to house the 4 interior lights that will be flush mounted into it. In addition, I will be putting rope mood lights on the side, better seen in the picture at the bottom.
I had to score and dot tons of lines with accuracy or else the whole thing would be crooked. The "X's" represent the cutouts. Better seen in the pictures below.
This is the top, the unvisiable side. It will be mounted toward the roof.
The grooves in which the rope lights will fit into.
Uber thanks to Keith Bailey at the Offroad Connection in Fultondale, Alabama. Not only for the use of his machines (shears, brakes, etc.) but also for helping me design and finish this. As always, he does it with a smile on his face.
Subscribe to:
Posts (Atom)