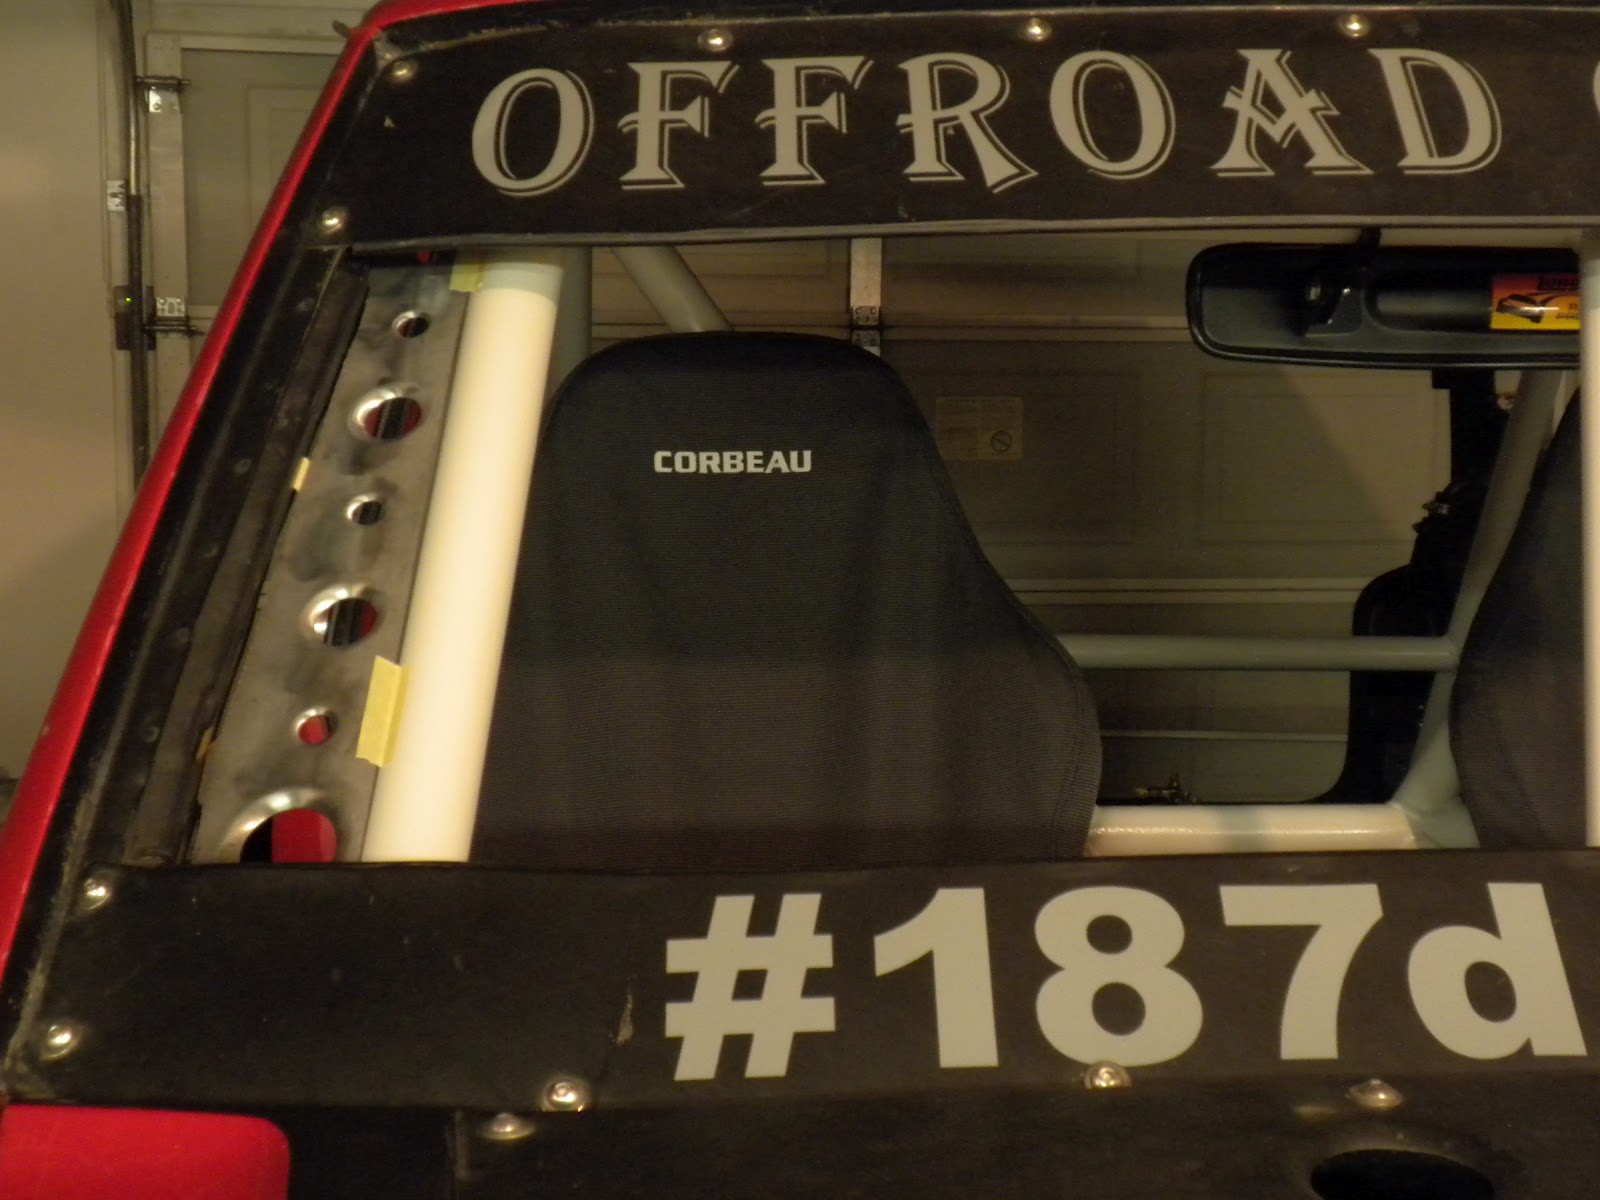
Welcome

Thanks for visting! The table of contents are on the right. Archives for this blog are located at the bottom of the page.


Wednesday, July 25, 2012

More cage tie-ins

I've been busy recently and put the Jeep on the back burner. Let's get back to business. 

Here are some more tie-ins from the cage to the interior. Remember all this is done to keep the body and cage together as one. In total I will have 12-14 pieces. The majority of them are getting dimple dyed. 

I don't know what this tool is called but I like what it does. I've used this tool a couple times now with quick and accurate results. It's like a fine tooth comb. You push it towards the object you want to duplicate and it wraps around it. Then you transfer it to your sheet metal. 


Rear tie-ins

The A pillar tie-ins.

I'm putting a sheet metal "cover" inside the spare tire. I'm going to have it airbrushed or paint it and put a vinyl logo on it. Two of the interior mood lights shine directly on this.


Wednesday, July 4, 2012

Roll Cage- Tie-in Supports

This week I started fabbing up some pieces that will help tie in the cage to the body so that the two move together as one. The first two pieces I started with are the ones that flank the windshield. I cut down some cardboard for templates and transferred that to sheet metal. Then I took that to the shear to cut it down.


Then I drilled some pilot holes with a 1/8" bit and layed out the dimple dyes in the pattern that I liked.


Then I took it to the ban saw to trim it down.


Then after setting the dyes in place, I knew which size holes needed drilled in each specific location. I took it over to the mill and drilled them all out,

After each hole was drilled I ran them through the press with the dimple dyes. I used 1/2", 1", and 1 1/2" dyes.


This is the "final" product. I still need to graind it down a bit to get a perfect fit. Then I'll stitch weld them in place and paint them.


I will need to repeat this process a few more times around the interior of the cage. Ac ouple for the roof and some coming up the B pillar.

Dashboard- Mockup and design

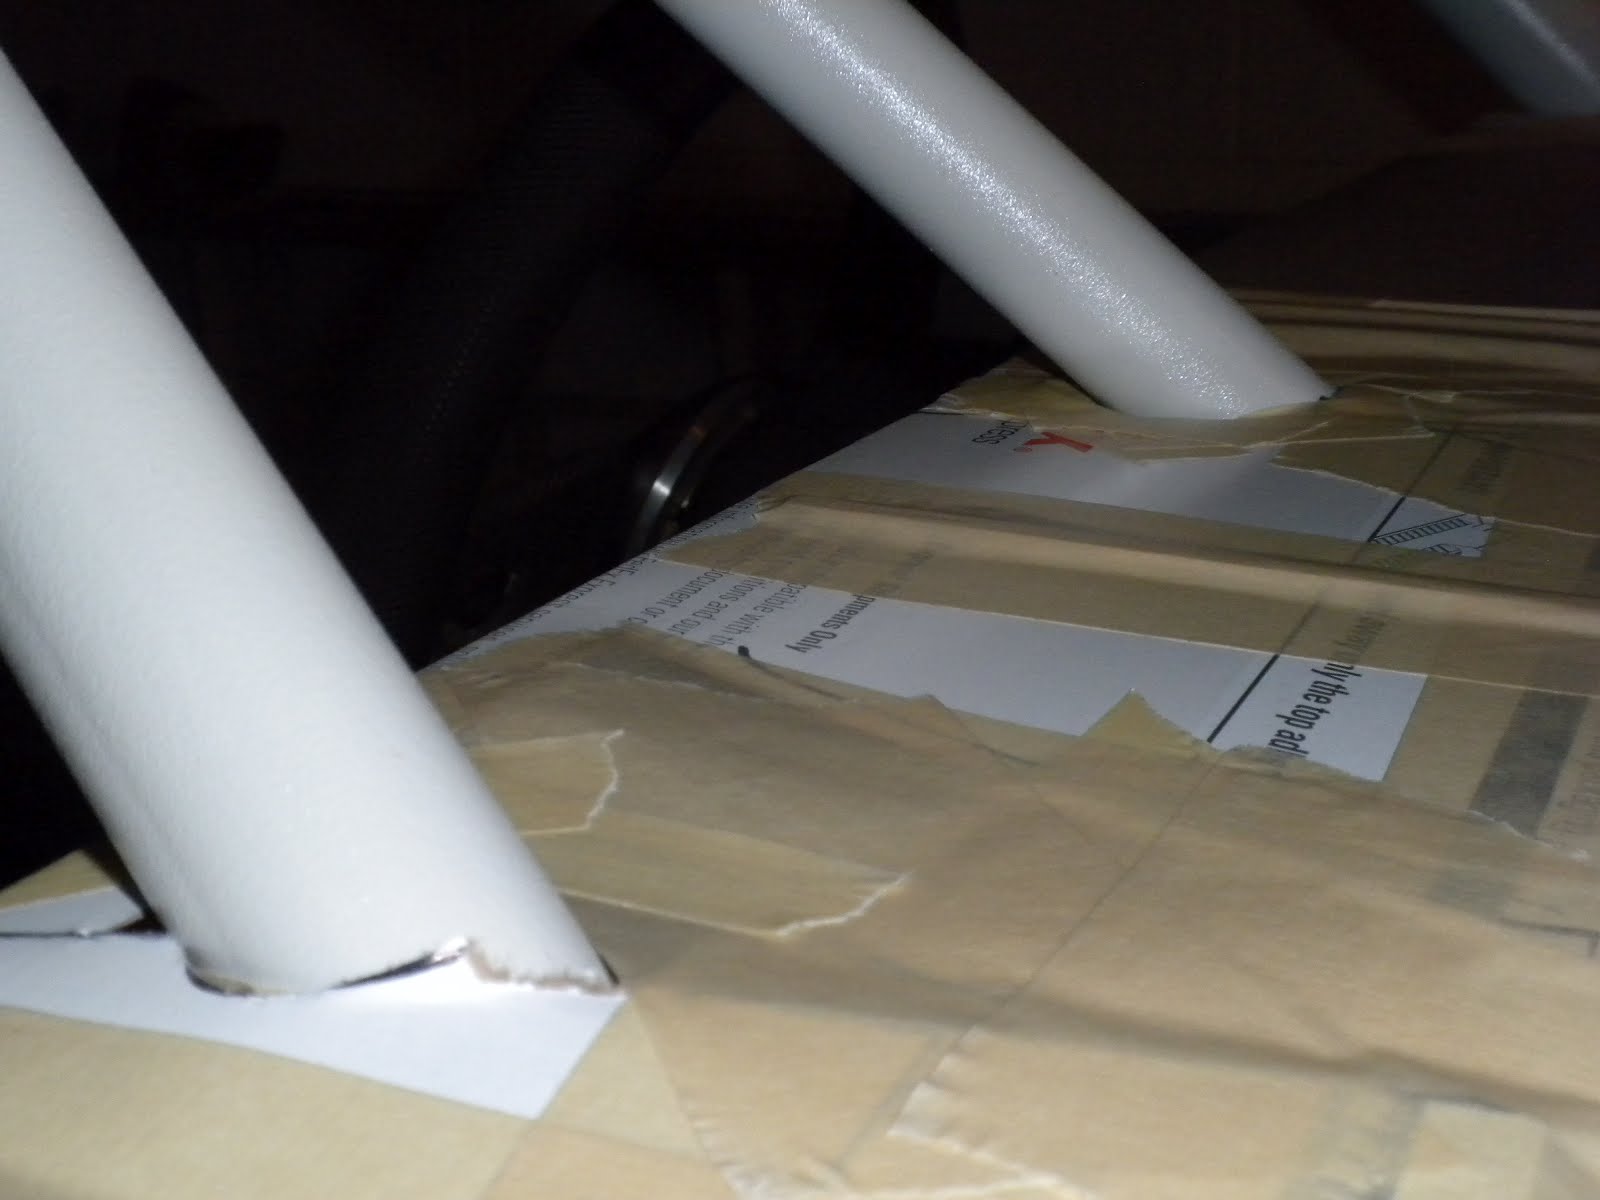
I spent a couple hours mocking up a dash design. I went a bit overboard with the cardboard and masking tape, but in order for me to get a full visual, this is the route I chose. I've drove it around the neighborhood a couple times to see how it would feel. Everything feels like it's in the place it should be in.

Dash features:

  • 9" Monitor

  • (2) 4-5" water resistant speakers

  • (12) ARB style switches

  • (10) Indicator lights

  • (2) Cup holders

  • (2) Elbow pads

  • (4) Autometer Sport Comp 2" gauges

  • Ipod peripheral and power cord

  • RA Designs Products Raill II or Baja II shifter

  • Cherokee OEM center console box and lid

  • Sheet metal will feature a 2" sun visor and rolled bead


    • I intend on tearing this mockup out and starting on the real thing within the next week or two.

      Longacre 17" Mirror Kit

      I installed this the other day. Fantastic setup! Here are the specs from their website

      Specifications
      • Mirror Style: Panoramic
      • Size: 17" x 3"
      • Housing: Black aluminum / ABS plastic
      • Brackets Material: CNC machined billet aluminum
      • Finish: Black anodized
      • Adjustment Range: 1/2" - 2 1/2"
      • Fits roll bars: 1 3/4" diameter


      Pros:

      • Fantastic fit- No vibration- No slip
      • Amazing panoramic view. At least 130*
      • Sturdy billet aluminum brackets

      Cons:

      • In this case, one may hit their head on the mirror if you get in w/o paying attention.

      Source
      http://www.longacreracing.com/catalog/item.asp?id=598&catid=26

      Roll Cage- Painting Complete- Seats, etc. install

      Sorry I've been away for the past 2 weeks. I locked myself out of my blog. I just now found out how to break into it.

      Since I've been away I completed the paint on my cage and installed the seats and belts and a few other bits.


      Saturday, June 23, 2012

      Roll Cage- (Majority of) spraying complete

      I finished spraying the cage today. 3 coats of the light light gray. It won't look that light for long. I went through about 18oz. of paint. A typical rattle can contains 12oz. but not all paint. I'm guessing there's 5oz. of paint in a can, at best. Which is about 4 cans to paint the cage. Now I'm not done yet. I still have to tape off/spray the top plates. I decided there was too much going on in there to try and do it all at once. So I'll tape those off and spray those Monday. I need to get more paint anyway. I'm going to do my rock rings in this color, and maybe my tie rod and drag link. Aside from that, I got somewhere today.


      And the underside...

      This is the passenger side C pillar frame tie in.


      This is part of the passenger side B pillar tie in. 2 of the bolts go through the 2 x 2" rock rail strut (Not seen) and the other 2 go through this plate. (That is welded to the 2 x 2")


      Roll Cage- Paint & Application

      Last night I finished taping EVERYTHING off. AHHHHH!! Pillars, floors, roof, firewall, hood, you get the point. I also had to keep the paper close to the roof so that it would collapse on fresh paint. I guess what I'm trying to say is I just didn't lay newspaper on top of the roll cage and start painting.


      So I have tape everywhere. The paint I decided on is a version of Ford Gray #Tm-2007. It was mixed by Bonds Brothers. As stated before it is an acrylic enamel automotive grade paint. I will be applying it with the disposable Preval Sprayer. After taping, cleaning, and mixing the paint it was time to start spraying. I do not have any pics of me painting because I was the only one doing it and wasn't going to pick my camera up [with paint on my hands]. But here are a couple shots of what it looks like. I ran out of propellant, until tomorrow. The paint is laying very easily. It's making me look better than I really am. I haven't seen one run yet. The prep I did is paying dividends. No fish eyes.